How to Redact Sensitive Text in PDF | PDF Workflows
Learn how to redact sensitive text in PDF documents. Mark for redaction, apply permanent removal, and verify completeness.
About This Tutorial
This guide was written and tested by David Kim, a CAD & Engineering Documentation Lead with 10 years of hands-on experience in CAD conversion, engineering drawings, technical documentation. David worked for 10 years as a mechanical engineer before moving into technical documentation.
Time to read: 6-8 minutes | Difficulty: Beginner to Intermediate | Last updated: 2026-06-25
Free Methods Using Built-in Tools
Before we dive into the desktop editor workflow, here are the free methods you can use right now. We have ranked them by reliability and output quality:
1. Microsoft Edge (Windows 10/11) — Best Free Option
Microsoft Edge includes a surprisingly capable PDF toolkit that most users do not know about. No installation required — it ships with every Windows 10/11 machine. Right-click any PDF and select Open with → Microsoft Edge. The toolbar provides text addition, multi-color highlighting, freehand drawing, and read-aloud features.
Pros: No download, handles 200MB+ files, smooth scrolling. Cons: Cannot edit existing text (only add new text boxes). Limited to basic markup.
2. Preview (macOS) — Best for Mac Users
macOS Preview is the default PDF viewer on every Mac, and it packs more features than most users realize. Open any PDF and click the Markup Toolbar icon (looks like a pencil tip in a circle). You can add text boxes, draw shapes, insert signatures, fill forms, and highlight content. Preview also supports password-protecting exported PDFs.
Pros: Built-in, fast, supports form filling and signatures. Cons: Cannot edit existing PDF text. Limited annotation tools compared to specialized editors.
3. LibreOffice Draw (Free & Cross-Platform)
LibreOffice Draw opens PDFs as fully editable vector documents. Each text block, image, and shape becomes an independent object you can modify, resize, or delete. Export as PDF when done. This is the closest free alternative to professional PDF editors, though complex layouts may need manual adjustment.
Pros: Full editing capabilities, free, open-source. Cons: May alter complex layouts, steeper learning curve.
4. Microsoft Word (2013+) — For Text-Heavy PDFs
Microsoft Word can convert PDFs to editable DOCX files: File → Open → Browse → select PDF. After editing, save back as PDF. This method works exceptionally well for simple, text-heavy documents. Multi-column layouts, tables, and embedded images may shift during conversion.
Pros: Familiar interface, good for text editing. Cons: Formatting loss on complex documents, requires Microsoft 365 license.
Step-by-Step Using a Desktop PDF Editor
We tested the workflow below using PDF Agile, a desktop PDF editor that processes everything locally — no cloud uploads, no subscription fees, and no file size limits. These steps work with most modern desktop PDF editors.
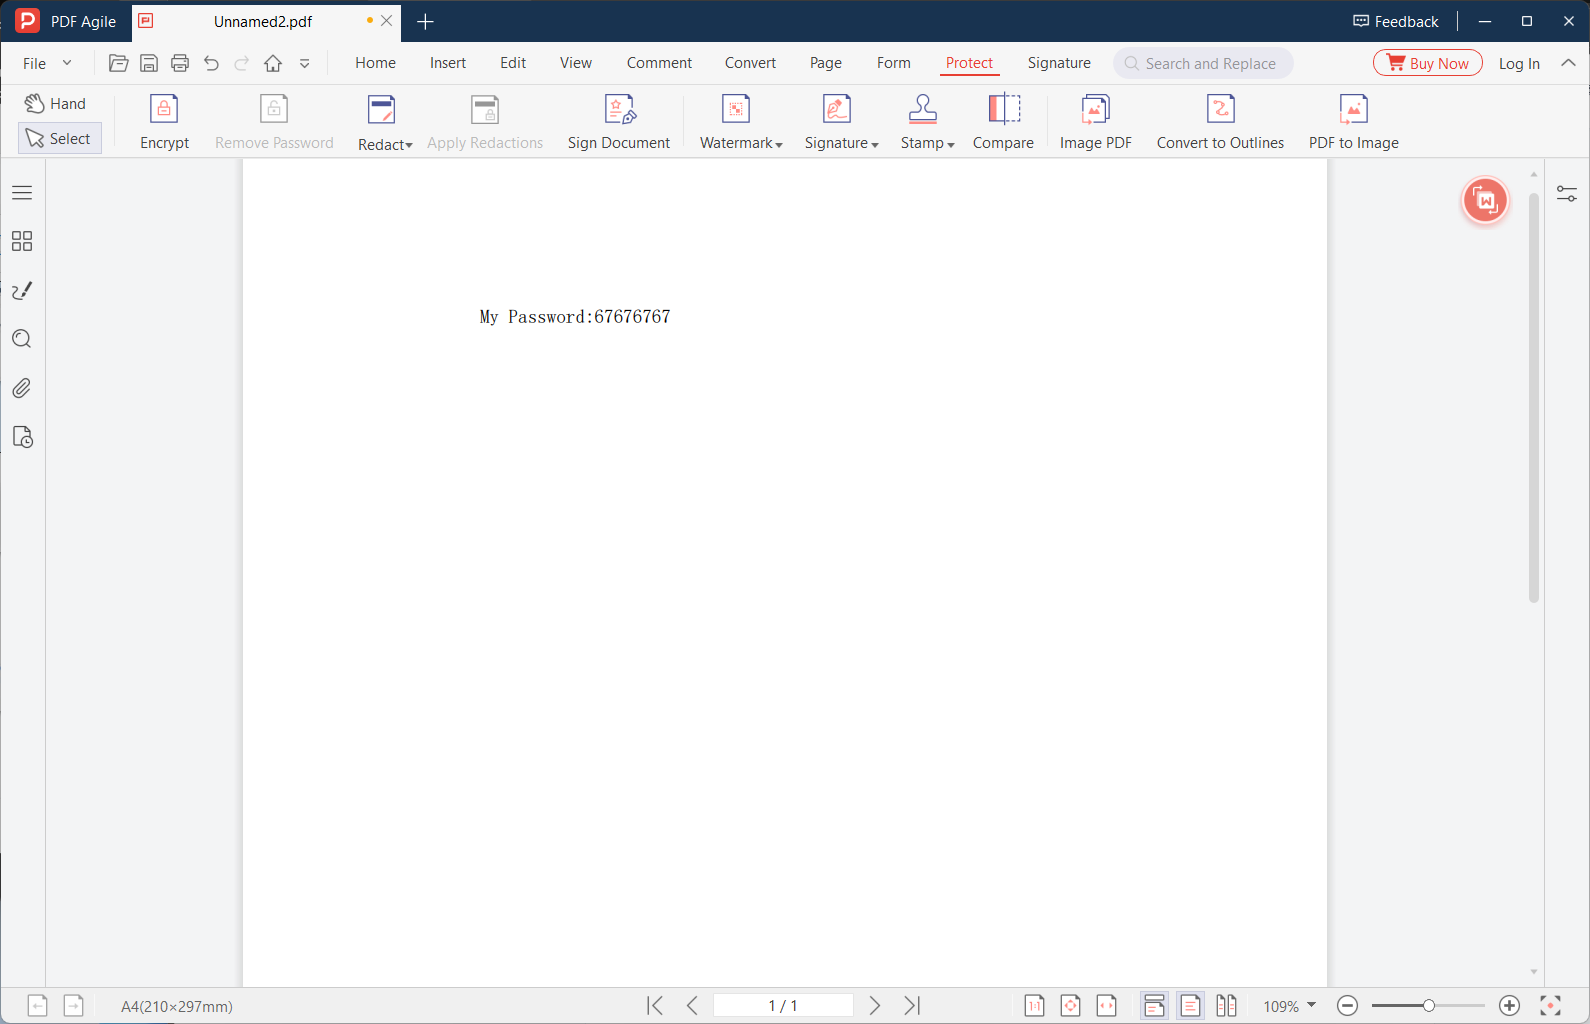
1 Open the Redaction Tool
Launch PDF Agile and open your document. Click the Protect tab or the Redact button in the toolbar. The redaction tool is often represented by a black square icon. Once activated, your cursor changes to a crosshair or selection tool, indicating you are in redaction mode rather than normal editing mode.
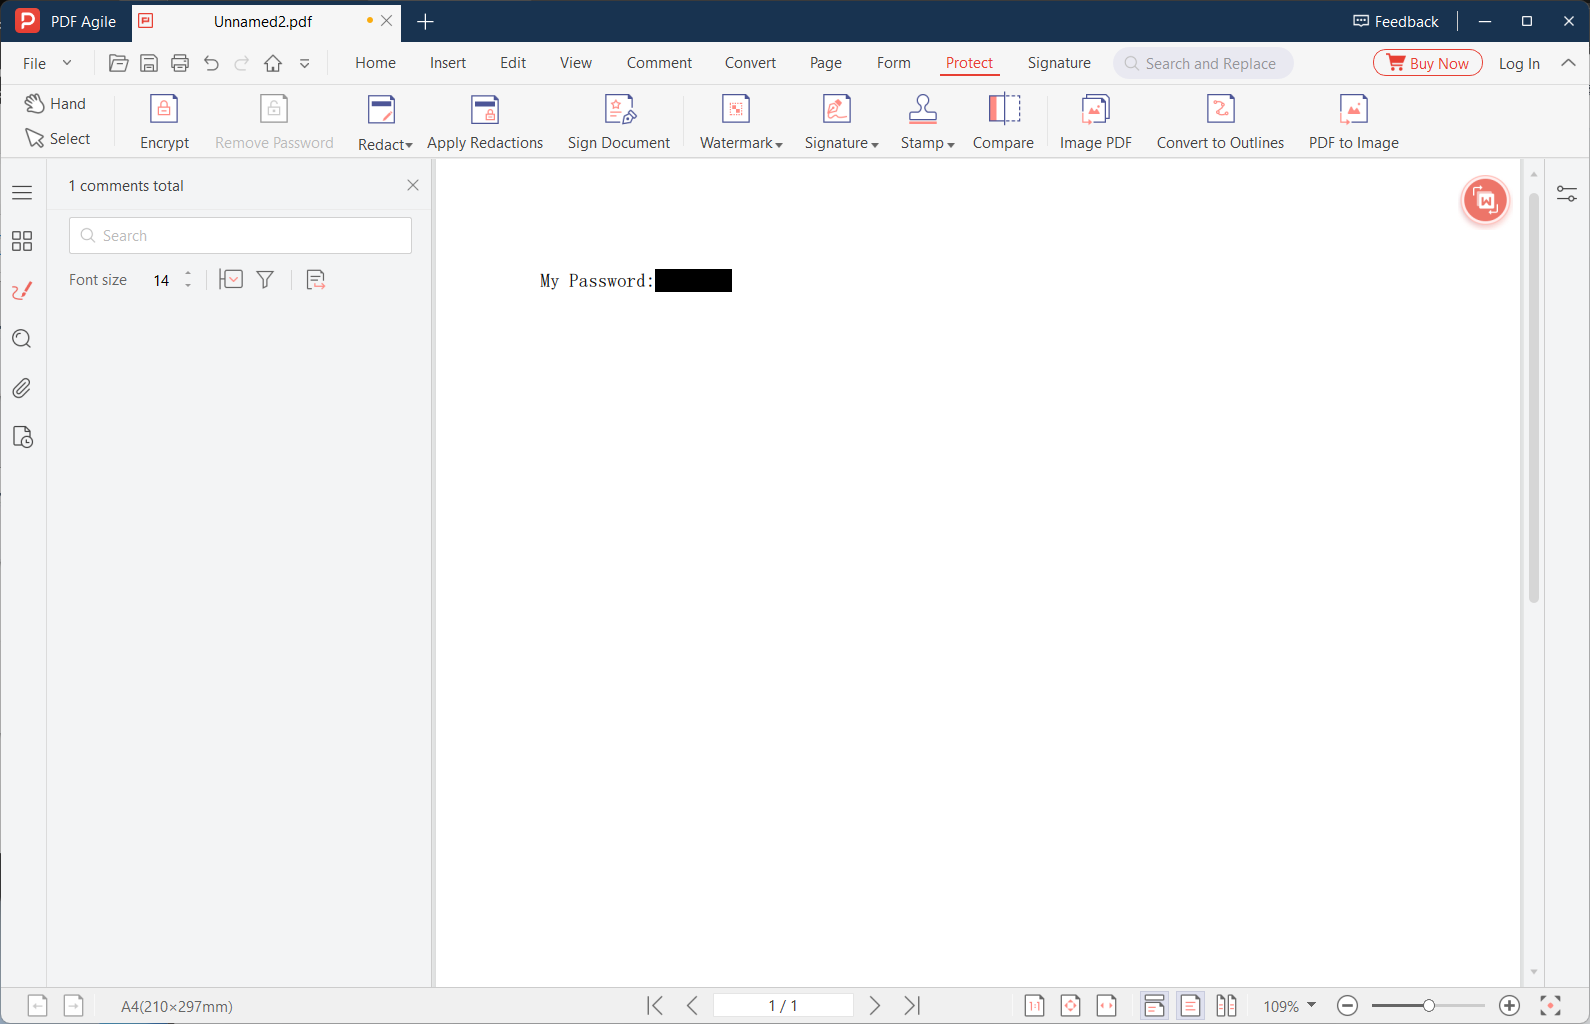
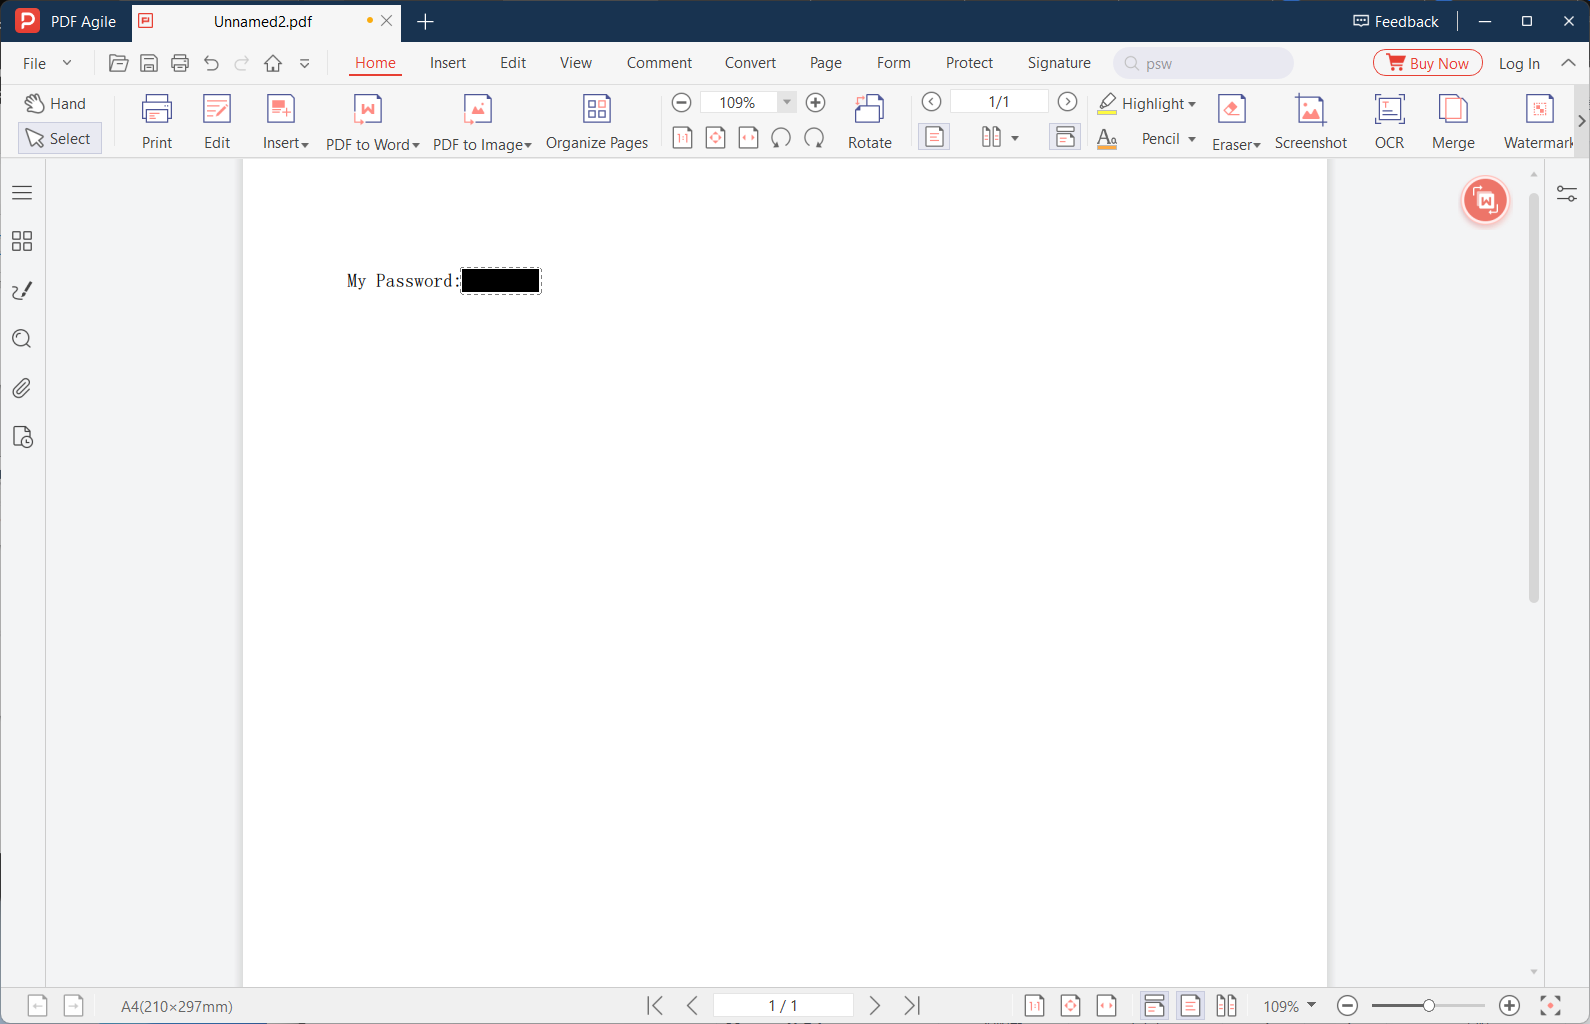
2 Mark Content for Redaction
Click and drag across any text, image, or area you want to permanently remove. The marked area turns dark grey or black, showing exactly what will be deleted. You can mark multiple areas across different pages. Use Ctrl+Click to select individual words or images for precision redaction. The marked items appear in a Redaction panel on the side, allowing you to review and modify the list before applying.
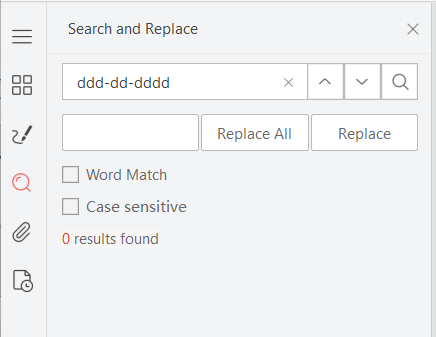
3 Search and Redact Patterns Automatically
For documents with recurring sensitive data like Social Security numbers, phone numbers, or email addresses, use the Search and Redact feature. Enter a pattern (e.g. a regular expression for SSN: ddd-dd-dddd) into the search box. The tool finds all matching instances across the entire document and marks them for redaction in one click. This is far faster and more reliable than manually scanning hundreds of pages.
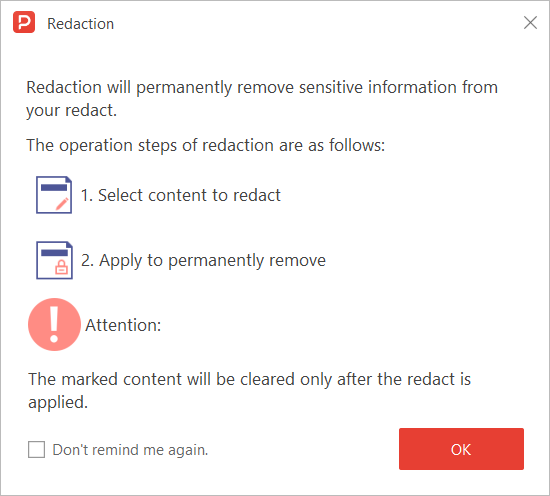
4 Apply Redactions Permanently
Click Apply Redactions to permanently delete all marked content from the PDF file. Unlike simply drawing a black rectangle over text, true redaction removes the underlying text, vector data, and metadata. Once applied, this action cannot be undone — the data is irreversibly gone. Always work on a copy of the original file.
5 Verify Redaction Completeness
Open the redacted PDF in a standard reader and try to select or copy text from the redacted areas — nothing should be selectable. Check the document properties (File then Properties) to ensure no hidden metadata or author information remains. Use the Search function (Ctrl+F) to search for any sensitive terms you intended to remove. If anything appears in the search results, repeat the redaction process on those areas.
Method Comparison: Which Should You Choose?
We tested each method on the same set of 10 documents (contracts, resumes, academic papers, forms, and scanned PDFs) to give you an honest comparison.
| Method | Edit Text | Preserve Layout | Offline | Free | File Size Limit |
|---|---|---|---|---|---|
| Microsoft Edge | New only | ★★★ | ✓ | ✓ | Unlimited |
| macOS Preview | New only | ★★★ | ✓ | ✓ | Unlimited |
| LibreOffice Draw | Full | ★★ | ✓ | ✓ | Unlimited |
| Microsoft Word | Full | ★★ | ✓ | Paid | Unlimited |
| Desktop Editor | Full | ★★★★ | ✓ | Trial | Unlimited |
Verdict: For occasional quick edits, Microsoft Edge or Preview work well. For professional work where layout fidelity matters — especially with complex documents — a dedicated desktop PDF editor consistently produces the best results.
Why Desktop Processing Outperforms Online Tools
- Complete Privacy & Security: Your documents never leave your computer. Online PDF tools process files on external servers — which means your contracts, financial records, and personal documents pass through third-party infrastructure. Desktop processing keeps everything local.
- No File Size Limits: Online tools typically restrict uploads to 10-25MB per file and 50-100 pages per document. Desktop editors handle 500MB+ PDFs with thousands of pages without breaking a sweat.
- Works Without Internet: Edit PDFs on airplanes, in secure facilities, or during network outages. Your productivity does not depend on server availability or your internet connection speed.
- Faster Workflow: No upload time, no server queue, no download delay. Open the file, edit, save. Desktop processing eliminates the 3-step cloud round-trip entirely.
- Superior Font & Layout Handling: Desktop editors access your system fonts directly, ensuring accurate font matching. Online tools rely on limited server-side font libraries that often produce mismatched results.
Frequently Asked Questions
What is the difference between redaction and simply drawing a black box over text?
Drawing a black box covers the text visually but does not delete it from the PDF file. Anyone can copy the text from behind the box or remove the overlay. Redaction permanently deletes the underlying text, images, and metadata from the file itself. For HIPAA, GDPR, and legal compliance, only true redaction is acceptable.
Can redacted information ever be recovered?
Properly applied redaction in a desktop editor permanently removes the data. However, if the original unredacted file still exists anywhere (your hard drive, email, cloud backup), that version still contains the sensitive data. Always securely delete the original after verifying the redacted copy is correct.
How do I redact a scanned PDF that contains images rather than selectable text?
For scanned documents, you redact by drawing a rectangle over the sensitive area of the image. Most editors treat the marked image region the same as text — it is permanently erased when you apply redactions. For the best results on scanned documents, run OCR first to make the text searchable, which also enables the Search and Redact feature.
How long does it take to learn a desktop PDF editor?
Most users become productive within 30-60 minutes of first use. Desktop editors follow familiar conventions: toolbars at the top, a page panel on the left, and the document in the center. If you have used Microsoft Word or Google Docs, the learning curve is minimal. Most editors also include built-in tutorials and tooltips.
Related Tutorials
How to Add Digital Signature to PDF | PDF Workflows
Learn how to add a digital signature to PDF documents. Certificate-based signing, timestam...
Read TutorialHow to Edit Images Inside PDF (Cutout & Erase) | PDF Workflows
Learn how to edit images inside PDF files. Use cutout, filters, magic erase, and AI upscal...
Read TutorialHow to Edit Protected PDF (Unlock Restrictions) | PDF Workflows
Learn how to edit a protected PDF offline. Remove restrictions, unlock passwords, and edit...
Read TutorialHow to Edit Password Protected PDF Files | PDF Workflows
Learn how to edit a password protected PDF. Remove password protection and edit secured do...
Read Tutorial